Unicorn with Flower Crown Greeting Card Tutorial
Posted by Sophie on 12th Apr 2019
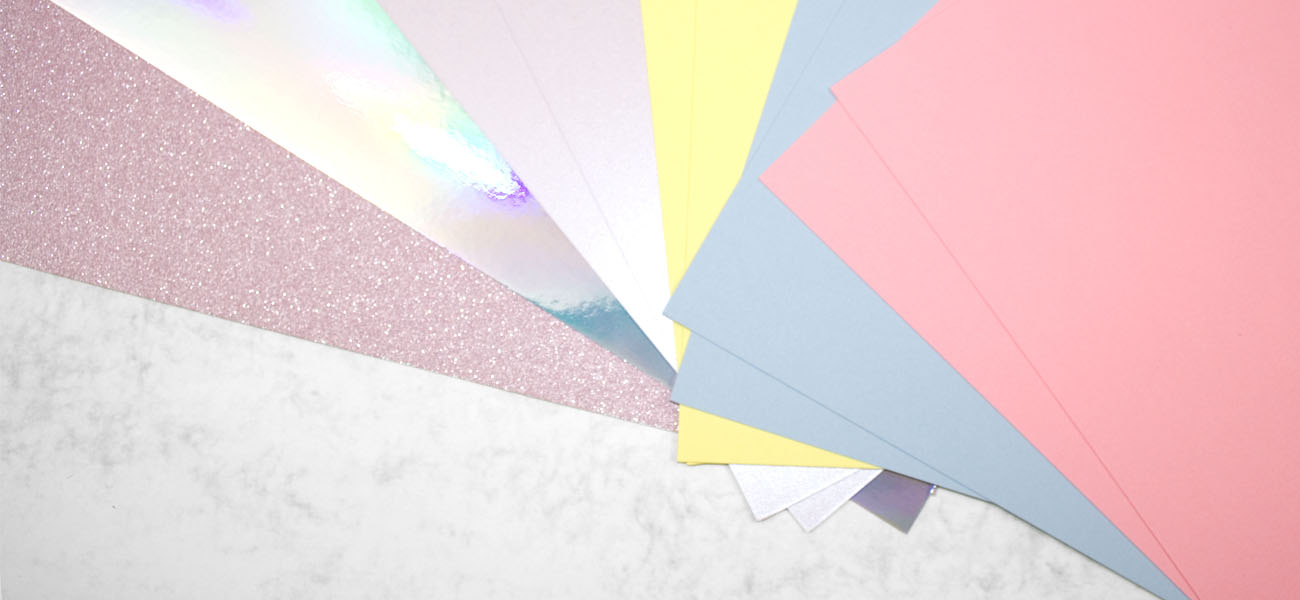 You will need...
For this I actually used very little beyond a Unicorn Mix Pack. The only other equipment used by myself for this was scissors, a glue stick, a pencil, a flower die and a little bit of sketching! If you don't have a flower die or way of die cutting, don't worry, you can still create the card, you'll just need to draw and cut out your flowers.
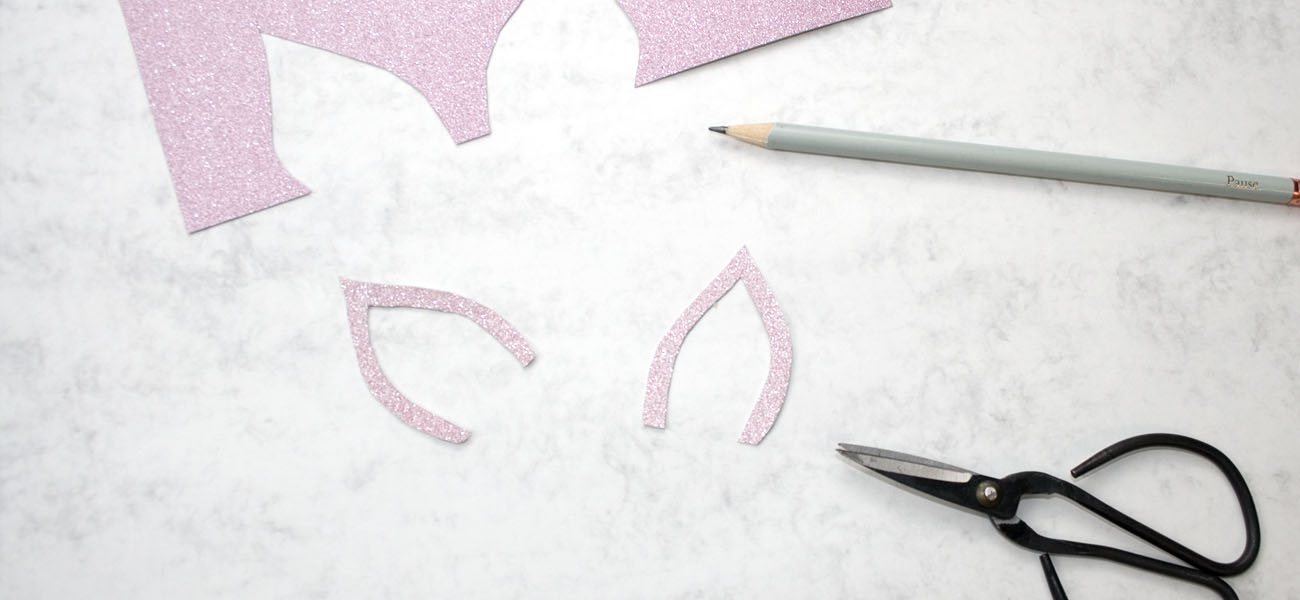 I started with the ears and chose the pink non-shed glitter card for these. I sketched one ear on the back of the card until I was happy with the shape, then cut it out. I then used this one for a cheeky shortcut and traced around it for the other ear - easy and it meant they were both even and symmetrical!
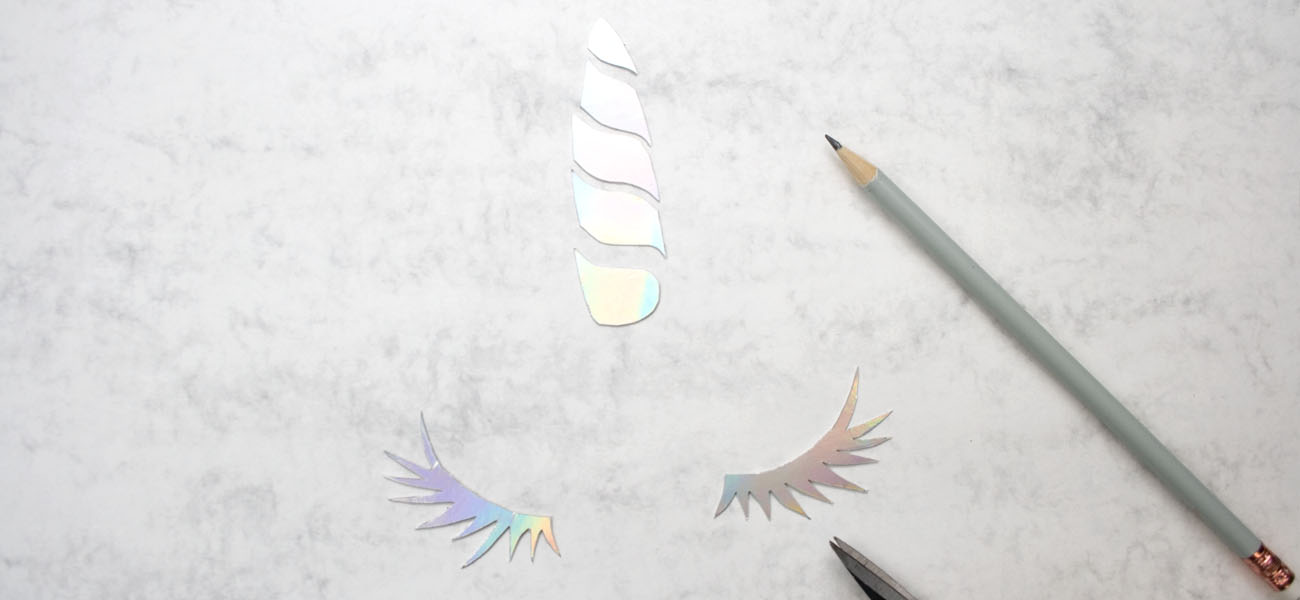 For the horns and eyelashes I drew the basic shape out on the back of the holographic card. If you have any unicorn themed dies laying around, they would probably be perfect for this bit! If not, it wasn't actually too tricky. The horn I sketched out the shape and then after cutting it out as a whole piece, cut it into sections with a little wave in it. The eyelashes were slightly trickier, but again once I was happy with one I traced around it for the other.
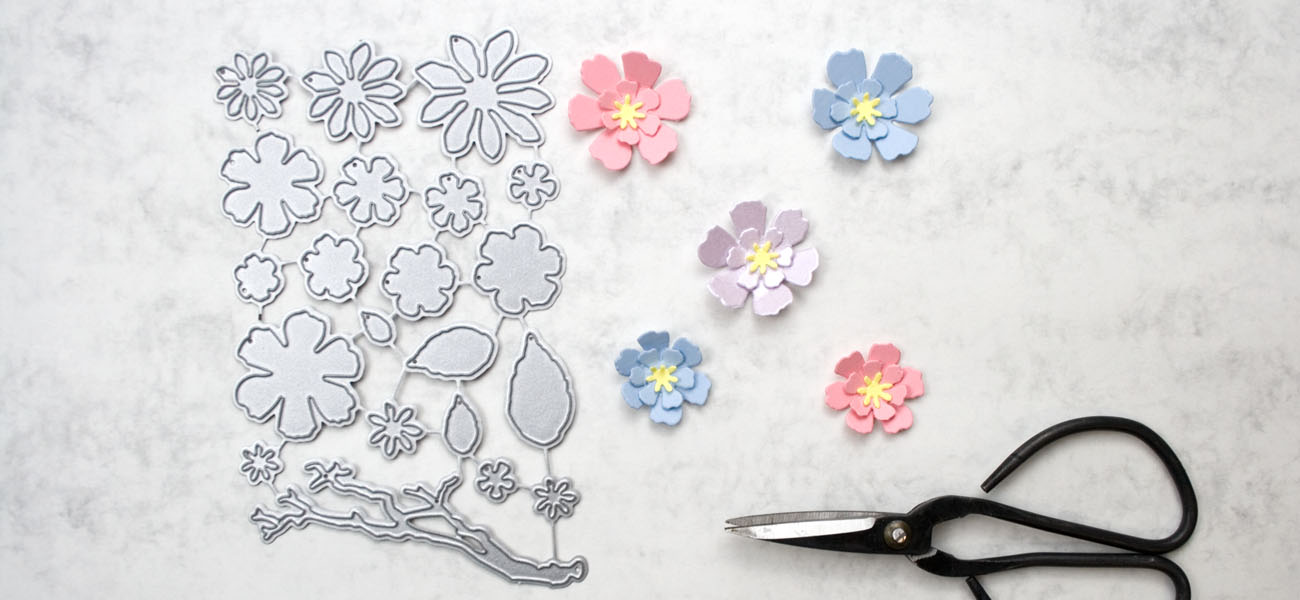 I did use a die for the flowers and mixed and matched the sizes when layering, creating three larger ones to use in the centre of the flower crown, and two smaller ones for the edges. I wasn't originally planning on using yellow for the centre's as this is going to be the base of the card, but they seemed a little lacking without this step!
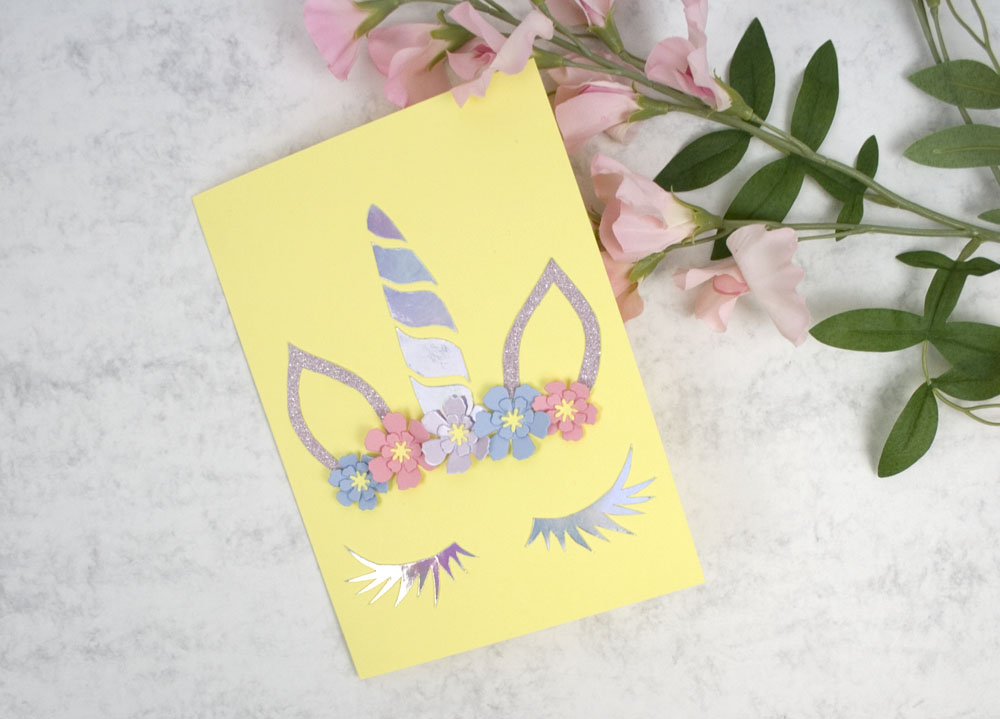 Finally, I creased the un-used sheet of yellow card, played around with the layout a little and glued everything down when I was happy with the placement!

