Let's be Mermaids Greeting Card - Tutorial
Posted by Sophie on 15th Mar 2019
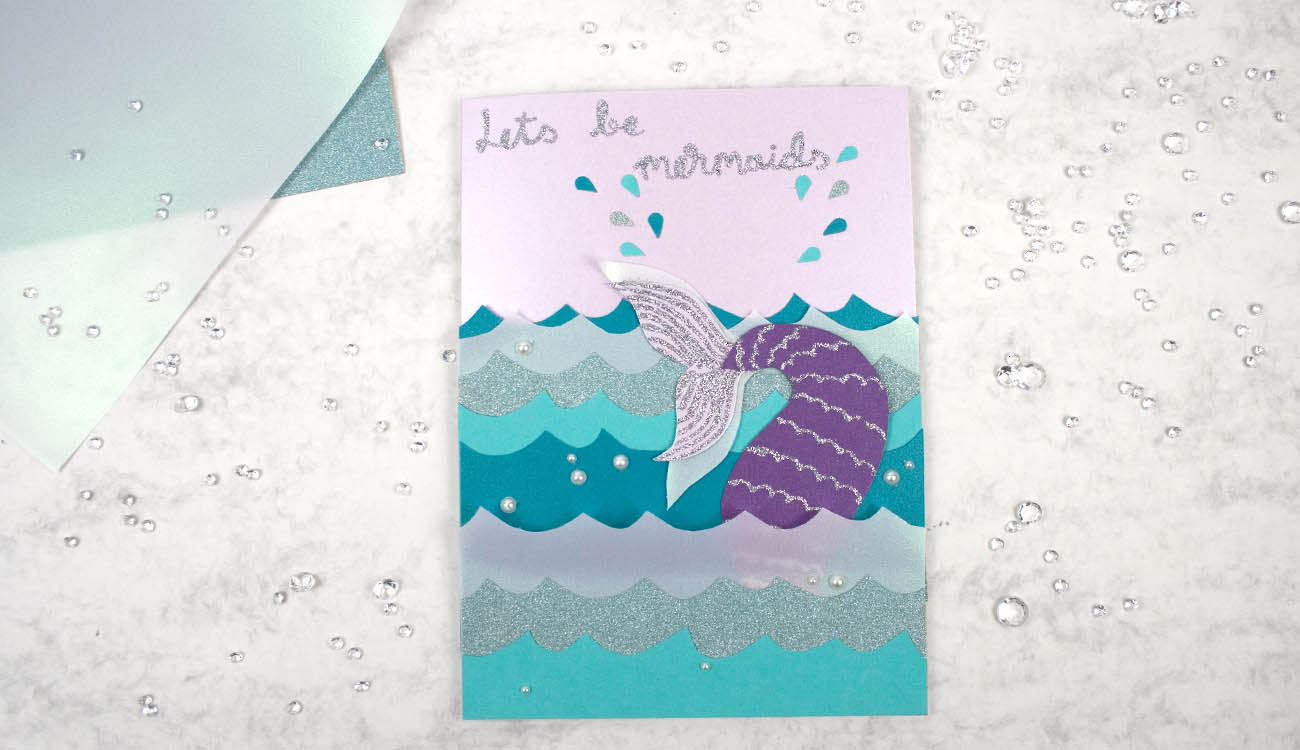
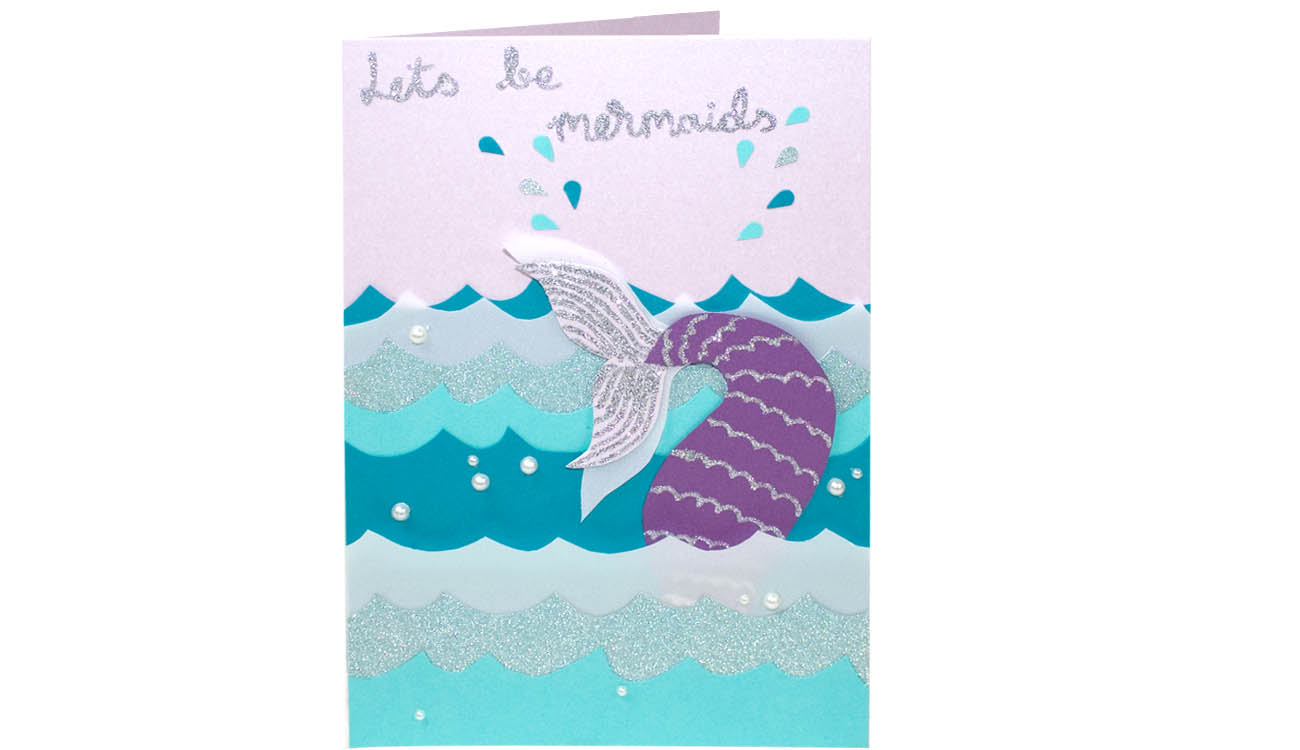
Perfect for birthdays and mermaid lovers, follow the simple steps below to craft your own Let's be Mermaids card!
Equipment...
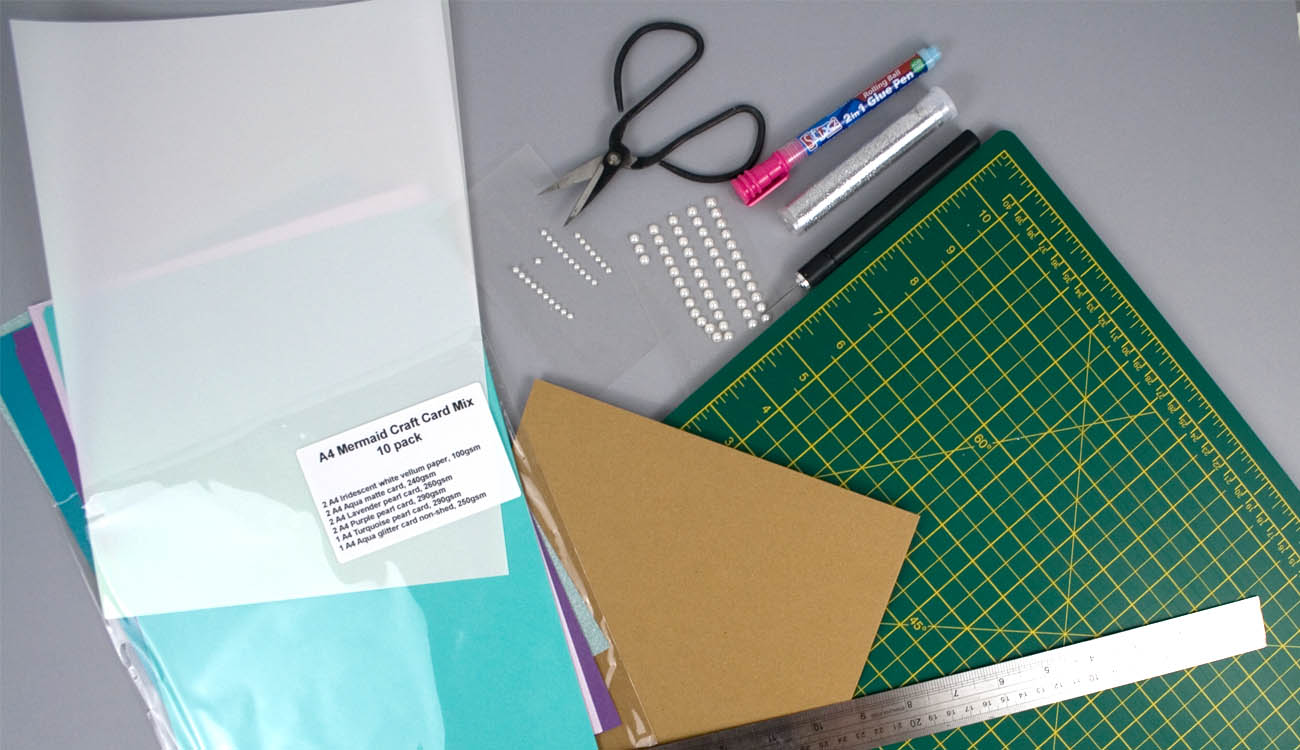
A4 Mermaid Card Pack If you have die cuts of waves and mermaid tails, then you can skip to the video at the bottom to show the assembly of the card! |
|
|
|
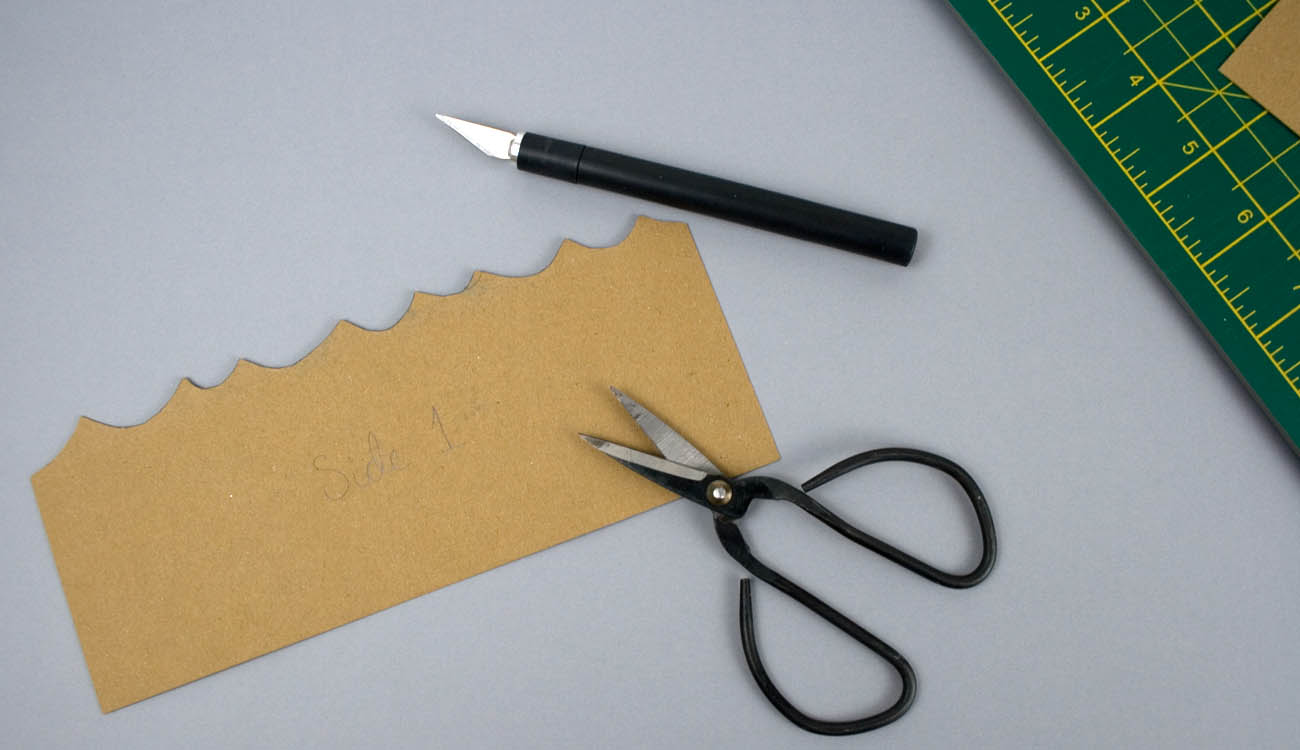
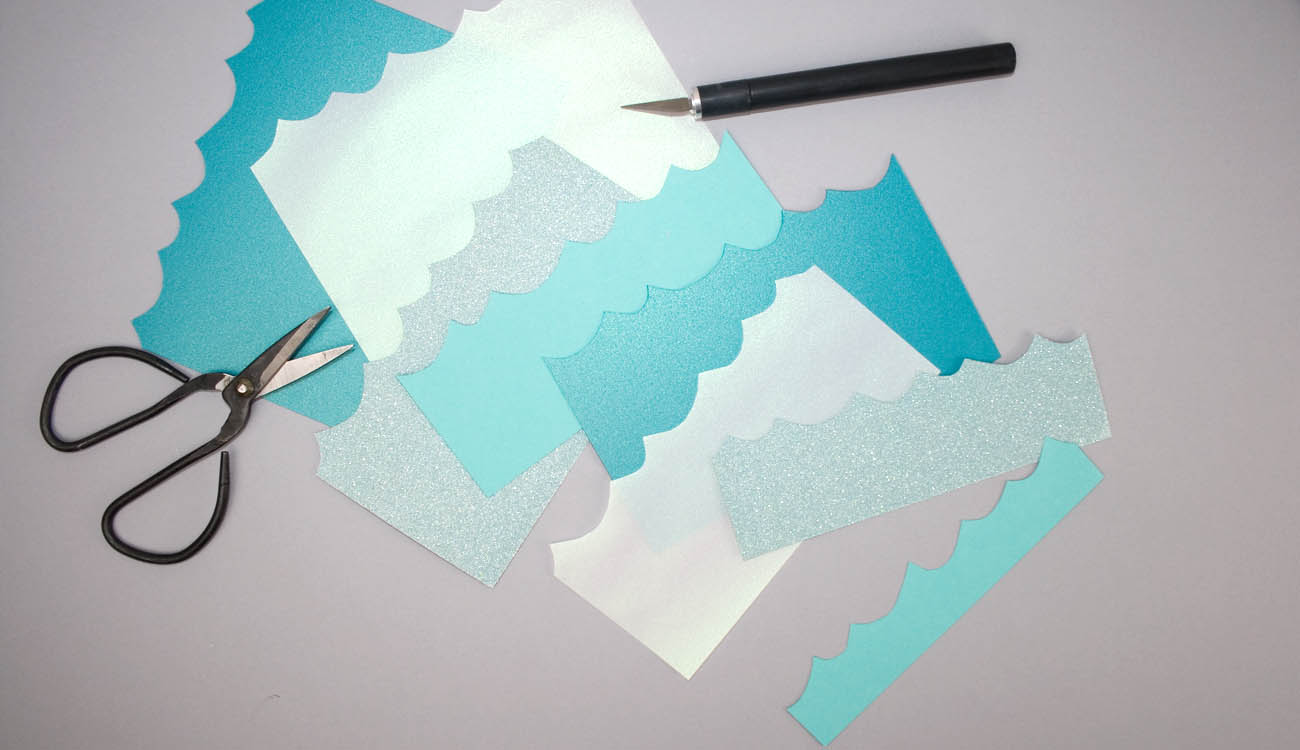
Step 1Using your A4 cardboard / grey board, draw gentle waves. These don't have to be symmetrical, in fact it's better if they're not for a bit of variety! Once you're happy with them, cut the design out. This will be used a template for the waves as we'll need a few. |
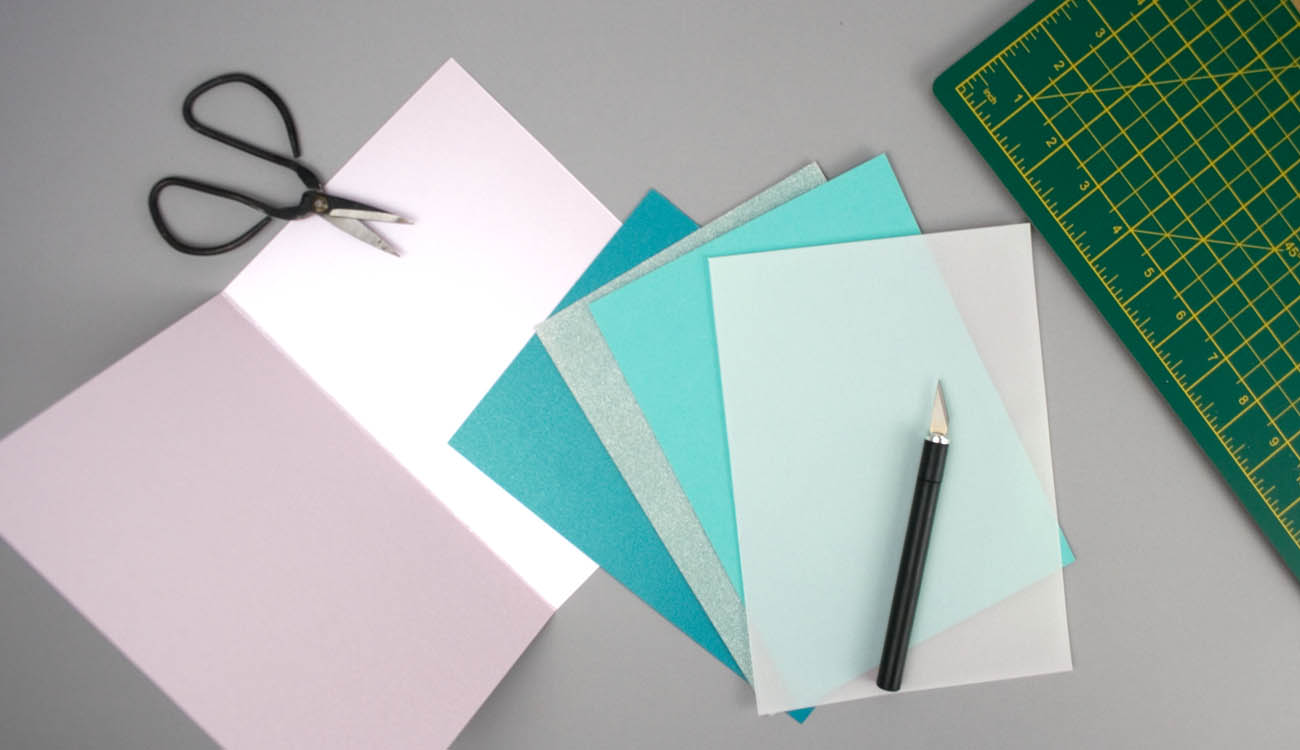
Step 2Next you want to crease and fold an A4 sheet into a card - this will make it an A5 card blank. I've chosen to use the lavender pearl card from the pack, but white would also work if you prefer! Once the card is folded, take the turquoise pearl, aqua matte, aqua glitter card and iridescent vellum paper and cut them down to the size of the front of the card (this should be approximately A5 148mm x 210mm). |
|
|
|
Step 3Using the cardboard wave template, create 2 sets of wave from each colour. For the best results, vary the placement of the template and flip it over to make sure the waves aren't all identical! Then pop these to one side, we'll assemble the card once all the pieces have been made. |
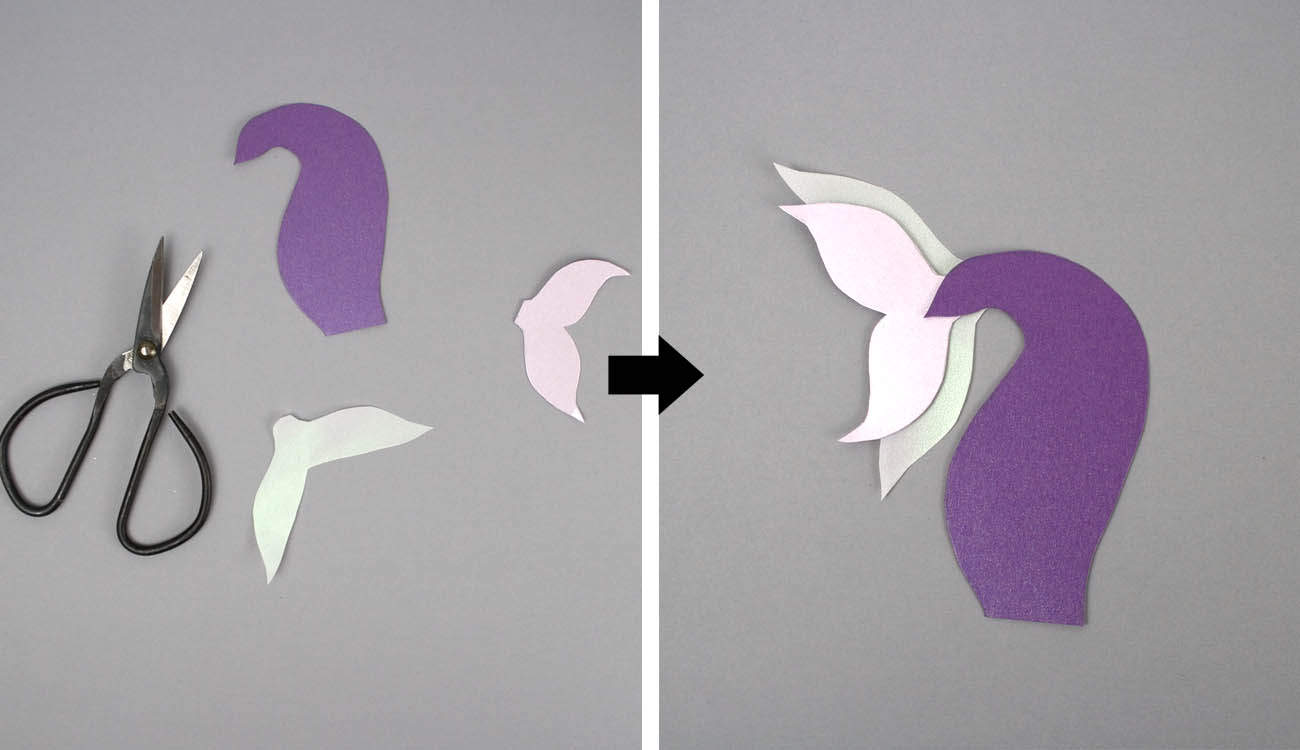
Step 4You'll need your drawing skills for this! The main body of the mermaid's tail uses the purple pearl card, the tail itself is made form lavender pearl and iridescent white vellum is used to highlight the tail.Draw and cut each piece out separately. Start with the main body and use this to help judge how large the tail needs to be, then use the tail to help size the iridescent fins. As you can see, you don't need to worry too much what the bottom piece of the iridescent looks like as it won't be visible once it's assembled! |
|
|
|
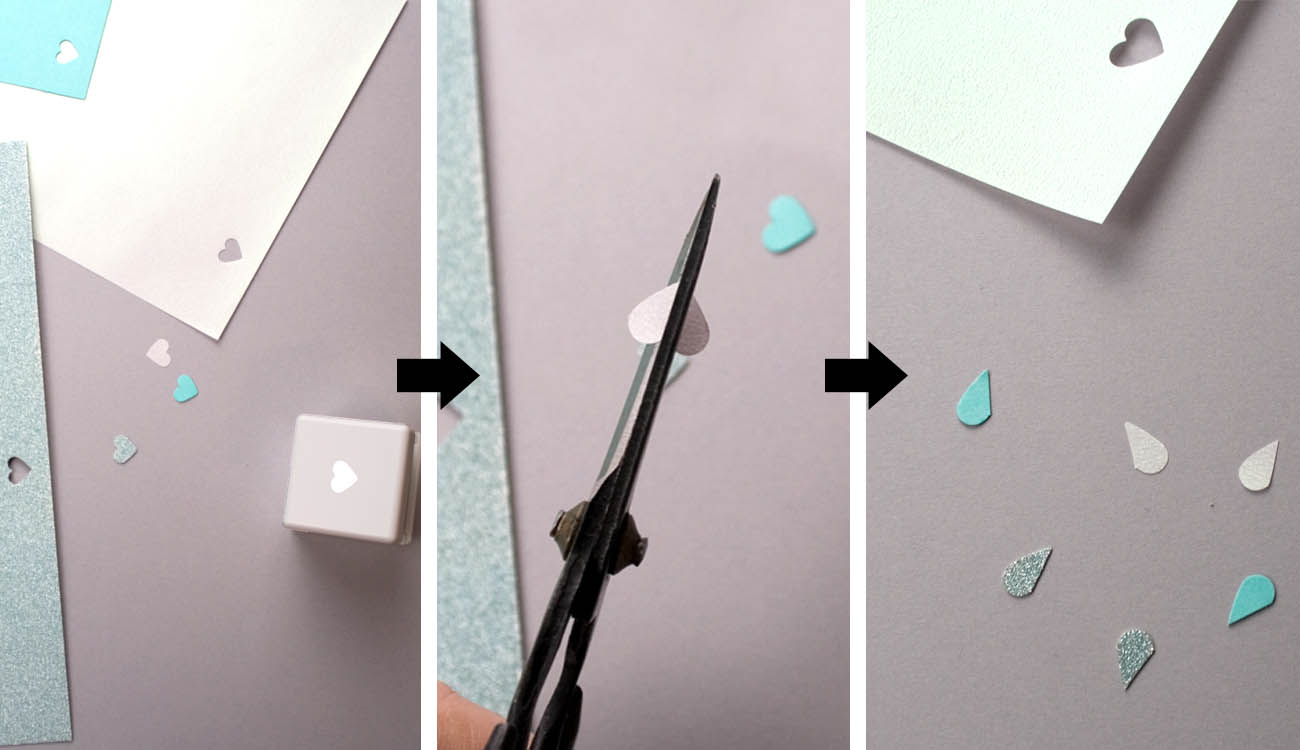
Step 5The last pieces we need are going to be water droplets for splashes coming out of the waves. You can draw and cut these individually, use a die cut if you have one for this shape, or use a heart paper punch as I did here! With the paper punch, I cut a couple of hearts out for each colour used for the waves, then cut the hearts in half for perfect little droplets. |
Step 6 - Assembly!Now we've got all the main pieces, you can see how to assemble these together and how to use a glue pen and loose glitter to complete the look of the mermaids tail in the video to the right. |
