How to Make Your Save-the-Date Cards
Posted by Sophie on 18th Jan 2021

Save the Date Templates
You’ve finally settled on a wedding date and might have a venue booked for your Big Day. Now you’ll need to tell your guests the big news.
Sending out save-the-date cards is a time-honoured tradition that’s part of the fun of organising a wedding. Save-the-dates give your guests a preview of what to expect from your special day — so it’s important to get things right.
If you’re planning your save-the-date cards but you’re not sure how to get started, don’t worry. We’ve got you covered with this list of save-the-date templates to inspire your cards’ look and theme.
Rustic

Source: Adobe Spark
This template from Adobe Spark uses a kraft colour as the backdrop for text in a simple sans serif font. You can also experiment with different fonts (such as hand-drawn typography) and colours to match whatever theme you might have in mind. For offset printing, we recommend pairing this wedding announcement with our collection of high-quality A4 recycled eco kraft cardstock.

Source: Canva
Meanwhile, if you’re thinking of inviting guests to a barn or farm theme wedding, you can customise this template with an image that evokes your theme and childhood memories.
Minimalist
Source: Adobe Spark
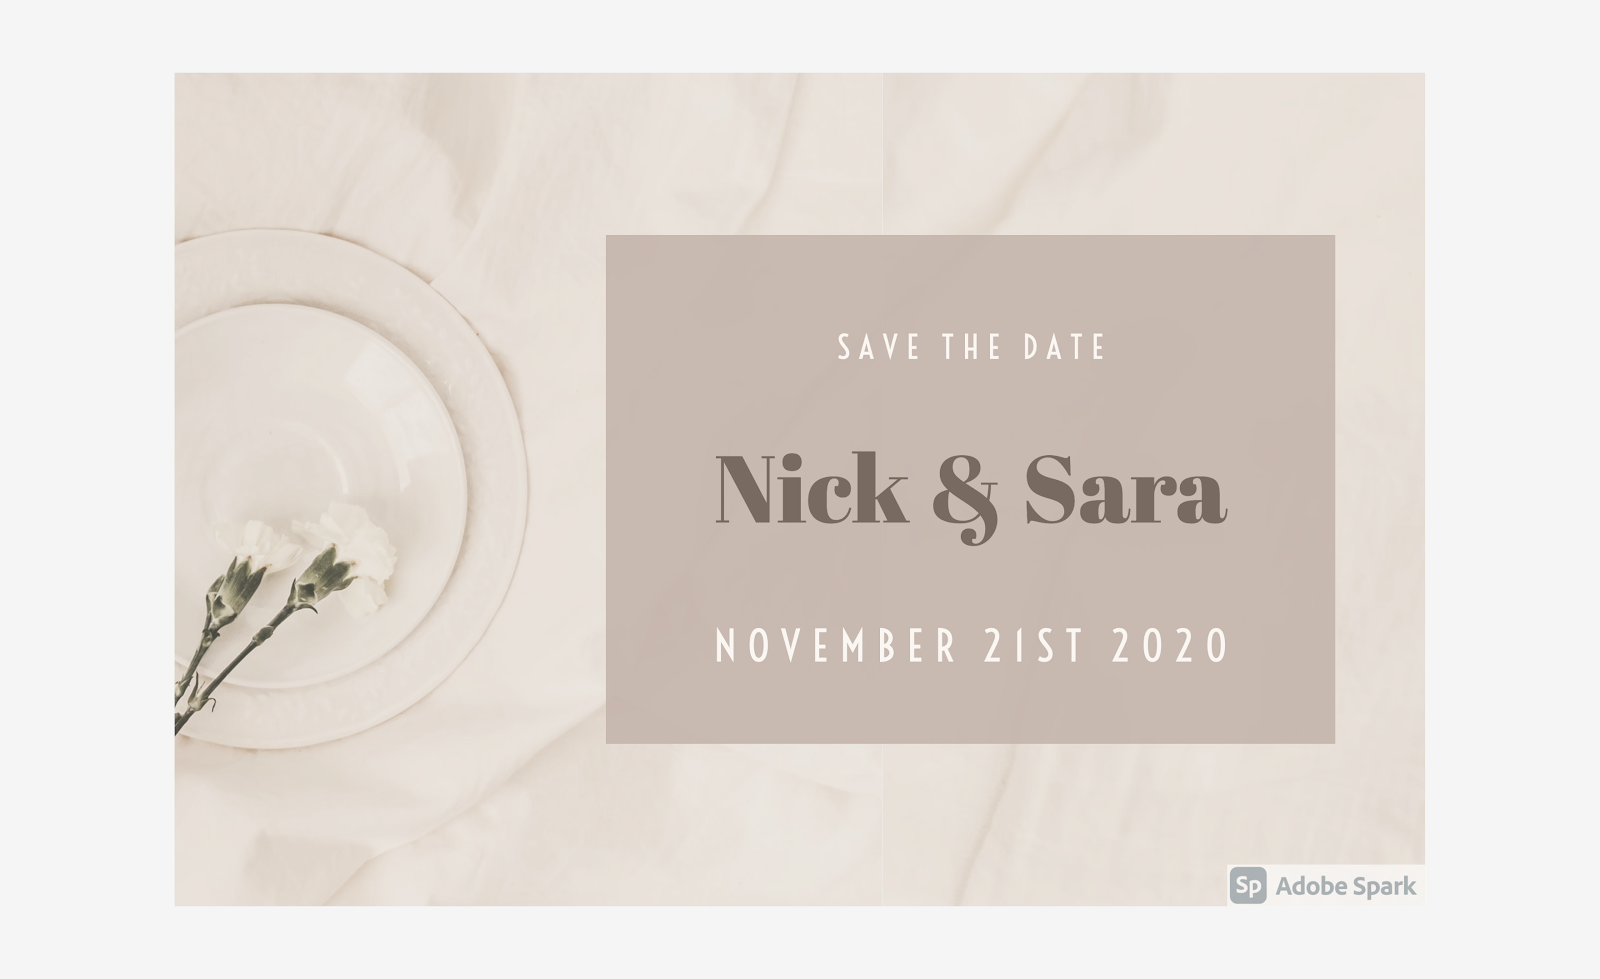
Want to announce your wedding with something simple and elegant? This clean save-the-date template features a soft background image and a combination of contemporary and 19th-century era typography.

Source: Adobe Spark
It doesn’t get simpler than this minimalist, text-only save-the-date template. If you want to make a statement with your cards’ texture, colour and weight, this design should do the trick. Consider pairing it with cardstock from our collection of A4 embossed and textured cards.
Romantic
 Source: Adobe Spark
Play it coy by announcing your wedding with this simple save-the-date. Customise it with a photo of your engagement ring or a close-up shot of you and your partner’s hands held together.

Source: Canva
This save-the-date template from Canva features a more contemporary and minimalist look. The bold typography and bright colour create a lovely contrast with the statement images, which we recommend replacing with your most special moments.
Fun and Colourful

Source: Canva
Show off a burst of colour with this botanical-themed save-the-date card — perfect for a destination wedding (think the Mediterranean or tropics) or a summer event. Pair it with our C5 recycled envelopes to create an earthy, natural look.

Source: Canva
If pink and cyan are part of your wedding motif, then this bright and cheerful Bachelorette Party invitation could be the perfect backdrop for your wedding announcement. This design comes with a cyan background, modern typography and pink accents, but you could design your save-the-date to match your wedding colour theme.
Quick Pointers on Printing Save-the-dates at Home
As with any project involving a regular inkjet or laser printer, some things can and will go wrong. To save you from the trouble of wasting cardstock, here are a few tips to remember when printing your save-the-dates at home.
Printing White Text
Because the vast majority of home printers don’t use white ink, printing white or almost white text can only be done by using white or neutral-coloured paper. You can ‘reverse’ the format and print on white paper and use the printed sections as your coloured background. In other words, your printer will print everything that’s coloured but ignore white space and white text — the colour of your paper will show through as ‘white.’
Printing Images and Block Colours
For best results, use our white and ivory cardstock when printing images, block colours and large graphics. A white background will ensure that your designs show or ‘pop’ and prevent any clashing with the paper.
Using Coloured Paper
On the other hand, when using coloured cardstock, you should stick to text designs, dark graphics, and line art (not photographs) in black as the card shade can significantly affect image colours.
Save-the-dates or Wedding Invitations?
While save-the-dates and wedding invitations serve very similar purposes, they are two distinct things. A save-the-date is an announcement sent before your wedding invitations. They are typically small cards ranging from the size of a business card to a postcard.
While there are no hard and fast rules for designing save-the-dates, your announcements should have the following key pieces of information:
- The couple’s names
- The date of the wedding
- The wedding venue (optional)
Because save-the-dates are sent to guests several months before the wedding, you can provide a general location for the ceremony and/or reception (e.g., city or town) while you choose the venue.
On the other hand, a wedding invitation will have more details about the wedding, including the time of day for the ceremony and reception, the appropriate wedding attire (e.g., black tie, white tie) and an RSVP for guests to confirm their attendance.
Sending out your save-the-date cards should be a fun part of the wedding planning experience. For all your save-the-date and wedding invitation needs, The Paperbox has you covered. Choose from our wide range of wedding stationery, save-the-date cards, postcard blanks in different colours, finishes, and sizes.