Handmade Wedding Invitations
Posted by Jade on 26th Oct 2018

Handmade Wedding Invitations

I feel I can talk on the behalf of the majority of girls, that even before the moment someone asks you the big question, you already had everything planned in your head, from the table decorations to the first dance!
Only thing is, you’ve planned to do the majority of it yourself. Then, as time goes by, you panic and think why did I say I’d hand sculpt 500 miniature toadstools or individually wrap equally coloured sweets for each of my 200 guests!
Well, here is a quick and easy way to hand make invitations which can be printed, cut and sent all from the comfort of your own home in a few easy steps!
Picking the colours for your handmade wedding invitations
You probably decided your colours the minute people started mentioning that they can hear the wedding bells. However, this is an important step, as the best weddings I’ve certainly been to have had a running colour theme from the save the date to the beautiful bridesmaids’ dresses!
Pinterest is a great place to get colour palate ideas. Get a board started and pin anything and everything that you love!
Pick your card
The handmade wedding invitations I designed were dusky pink font on white hammered card. I bought these in a 260gsm weight so I knew I could get them printed without going to a specialist, as they are inkjet and laser jet compatible (just remember to put them through the bypass tray on a thick setting if you are doing them at home!).This is the one that I think is really important.
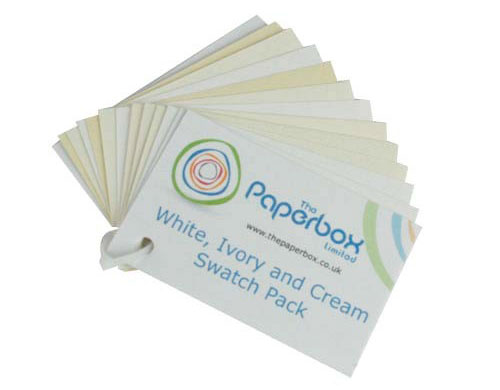
The colour of your card needs to work with the colour of your writing – ivory hammered card looks great with peach and sage, but it can look a bit dull with coral and light blue. There’s also loads of different finishes to card - a silk finish is a type for more modern designs, however you can get a striking design using purely black type on kraft card. If you are unsure on the different types of card, I’d suggest you order a sample pack before you make any brash decisions!
Handmade Wedding Invitation Sizes
The good thing about these invitations is they fit through the letterbox, saving you a trip to the post office!
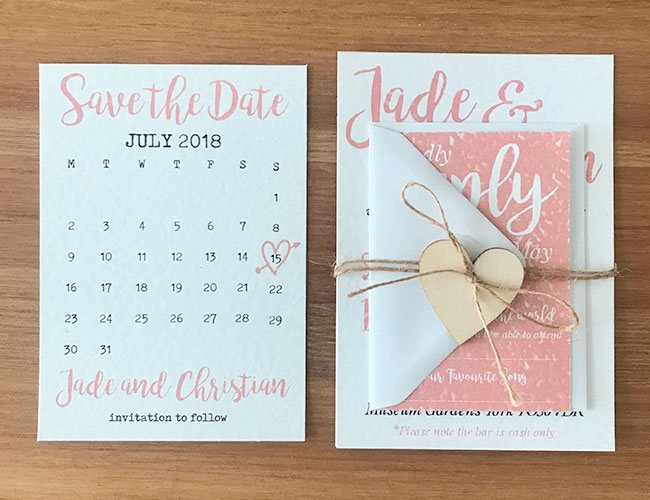
I created the ‘Save The Dates’ in A6 size (a standard sized piece of paper folded in four!), so they fit perfectly inside a C6 envelope. This meant I could print out 4 copies of my ‘Save the Dates’ on one piece of card!
The invitations themselves came in three pieces, the ‘who, where, when and how’ on one piece, with the accommodation information and wedding gifts on the other. These were both also A6, and fitted into a C6 envelope.
I then created the replies as A7, so half the size of the invitations. On here, I simply added a check box to say if guests were coming or not, alongside a bit to add their favourite dance, as we were having a Dj-less night! For these, I just needed some C7 mini envelopes and then there was the fun part left of cutting them out and making them look pretty! You can cut them by hand, but I’d suggest getting a cheap mini guillotine.They cost less than a tenner and it makes your life a lot easier!

Finishing Handmade Wedding Invitations
I put the accommodation sheet to the back, then the main card and then the RSVP (within its mini envelope with the return address printed on and a stamp). Then I double wrapped some hessian string round the invites and finished it off with a wooden heart tied in a bow…and voila! Easy invitations made, now go have a celebratory drink and do some more planning!
If you are interested in sharing your creations with us to be included in our blog we would love to hear from you. Just contact us and we’ll be in touch!