DIY Santa's Belt Handmade Christmas Card
Posted by Sophie on 23rd Nov 2018
Santa's Belt Christmas Card
 Supplies:
A4 Xmas Red Pearl Card (single-sided)
10mm Black Satin Ribbon
Square Diamante Buckle
Round Wooden Buttons
Here's a (very) quick video of the process and you'll find the step by step guide below!

Step 1
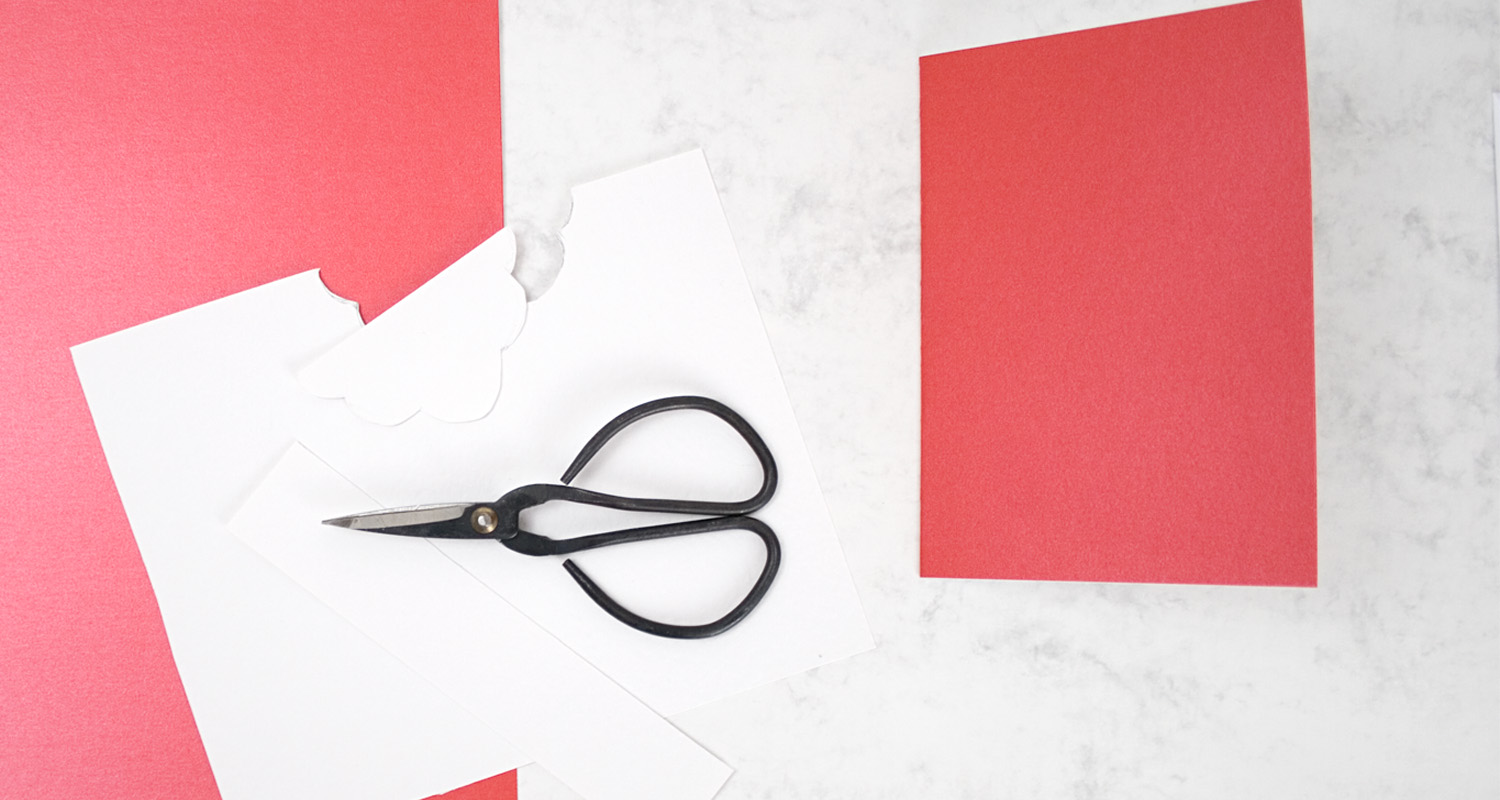
You'll need to make your card blank from the A4 Red pearl card to begin with. This card is great for projects like this as it's single-sided and the white back forms the inside of the card making writing in it easy! I chose to make an A6 card, to do this you'll need to trim the card to A5 (148 x 210 mm) then simply fold/crease and fold in half to create your A6 card blank.
For Santa's white trim down the centre of the card, I chose to use white hammer card because I though the texture was very fitting. I measured my card to get the correct length and had the width at 3cm. At the same time I also drew and cut out a cloud-like beard shape from the same card - you could also use cotton wool for this if you fancied a fluffier beard!

Step 2
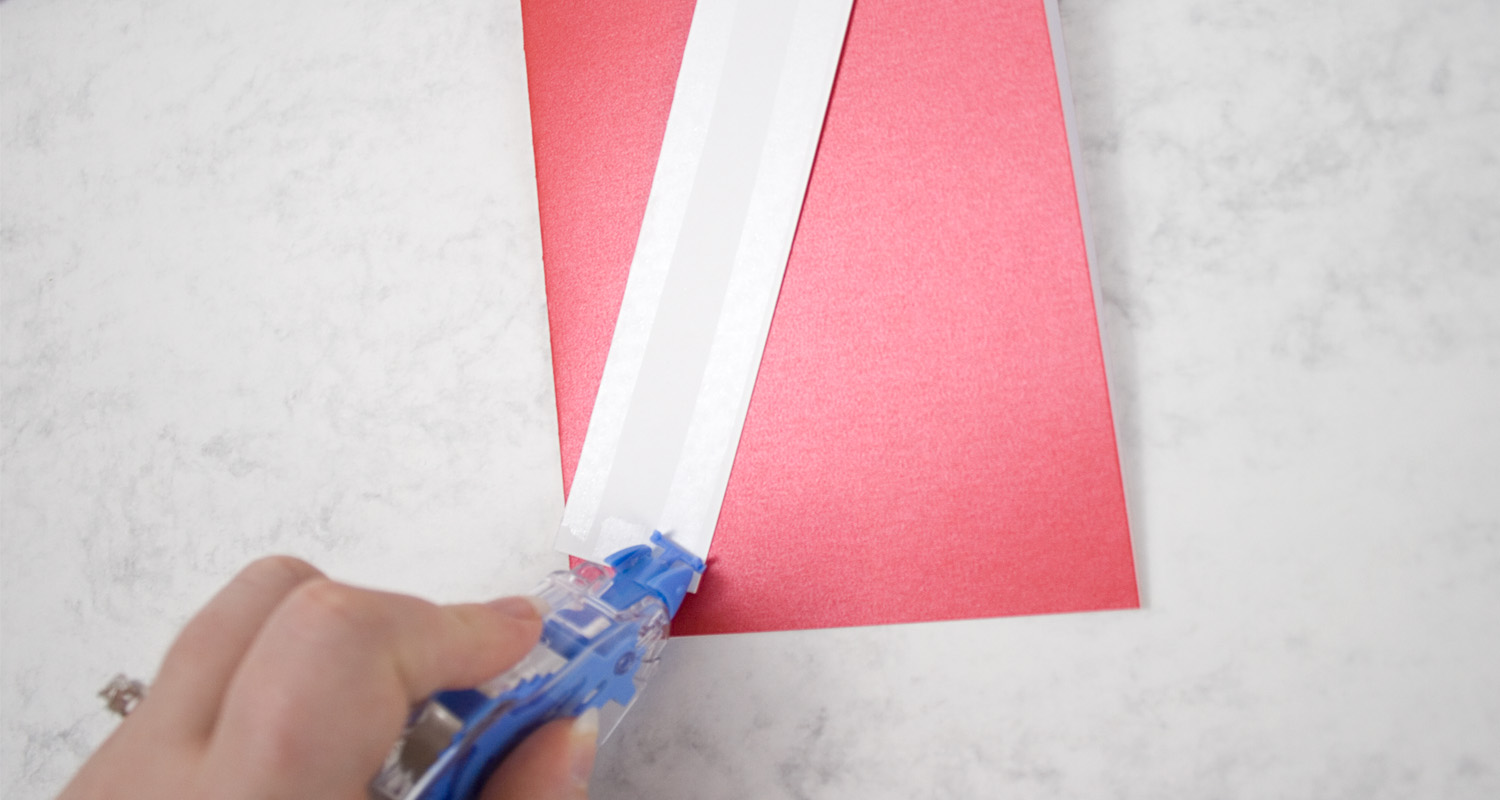
Use the tape runner to stick the trim and the beard onto the card! I love how easy this particular adhesive is to use - you can see how flawlessly this adds a very neat strip of tape.
Remember to make sure you've aligned the pieces carefully before sticking them down, you can slightly adjust the position if you get it a little out (as you can see in the video below) but there isn't much wiggle room.
 Step 3
Now for the belt and buttons! Cut a length of ribbon just slightly longer than the width of your card. You can use the tape runner to stick the ribbon belt on, however use the tape on the card itself. The tape adheres cleanly to card and paper, but can pull on fabrics so this way is easier and the end result looks cleaner.
Don't forget to add your belt buckle before sticking the belt down! I've used a square metal buckle, however you can also cut your own out of card of your choice too. For the small section of ribbon sticking out from the card, fold onto the inside of the card and secure with the tape runner.

Finishing Touches
Use the tape runner to add two small amount of adhesive on the trim between the belt and beard and the belt and the bottom of the card for your buttons.
Write a heartfelt message and pop in an envelope! In the video I used a white C6 envelope, but if you fancied something a little more sparkly, pearlescent ice white, silver or even gold would also look great!

