




DIY photo birthday cards: simple ways to create thoughtful cards
26th May 2026

DIY photo birthday cards: simple ways to create thoughtful cards
One of the most wonderful things about cardmaking is that it’s so personal. Personal from you as the crafter but also tailored to the personal taste of the recipient. But how can you make something so special even more meaningful?
One way to create truly thoughtful cards is by incorporating photographs into your designs. Of course, we’re not talking about simply uploading an image to a card-printing service – where’s the fun in that? We’re talking about using photos as a physical design element within your handmade cards, transforming them into artistic keepsakes that feel far more meaningful than a standard digital photo gift.
Whether you’re sharing the arrival of a new baby, creating photo birthday cards for a loved one, or designing a festive family Christmas card complete with cheesy matching jumpers, adding a photograph makes your project uniquely special.
From framed focal points and hidden photo inserts to interactive layouts and layered embellishments, we’ve collected some of our top tips for featuring photos in your cardmaking, so you can create thoughtful, memorable cards at home.
Choose the best photo for card making
When incorporating photographs into your card making, choosing the right image is just as important as the design itself. Don’t just print the first photo you find, make sure that the quality is high, the size is correct and paper you use will work well with your medium.
If you’re using an original photograph that you don’t have a digital copy of you may want to scan it before using. That way you not only have another copy if something goes wrong, but you also have a copy for yourself.
If you have a high-quality home printer then this should be sufficient for most projects. However, if you’re doing a lot of printing or not getting the quality you desire it may be best to use an online print service such as Snapfish.
Get the right photo paper type
It may be that you already have a photo in your hand that will become part of your design, but if you have a digital image, it’s worth putting some thought into the photograph paper finish.
Gloss: traditional, vibrant, polished look, but can show fingerprints or adhesive marks more easily.
Matte: reduces glare, can be embellished with illustration, and blends seamlessly with cardstock and embellishments.
Coordinate your card to your photo
If you’ve found the photo that you want to use but find yourself being hit with creative block, one of the easiest ways to create a cohesive design is to let the photo guide the way.
Pull colours directly from the photograph and repeat them throughout your cardstock, and embellishments. This instantly makes the finished card feel more intentional and polished. Pair fun photobooth prints with bold card colours, reflect romantic wedding photos with ornate calligraphy.
The photograph should feel like an intentional part of the design, not an afterthought. By echoing the colours, textures, mood and theme of the image you can achieve a beautifully balanced one-of-a-kind keepsake.
Add a frame
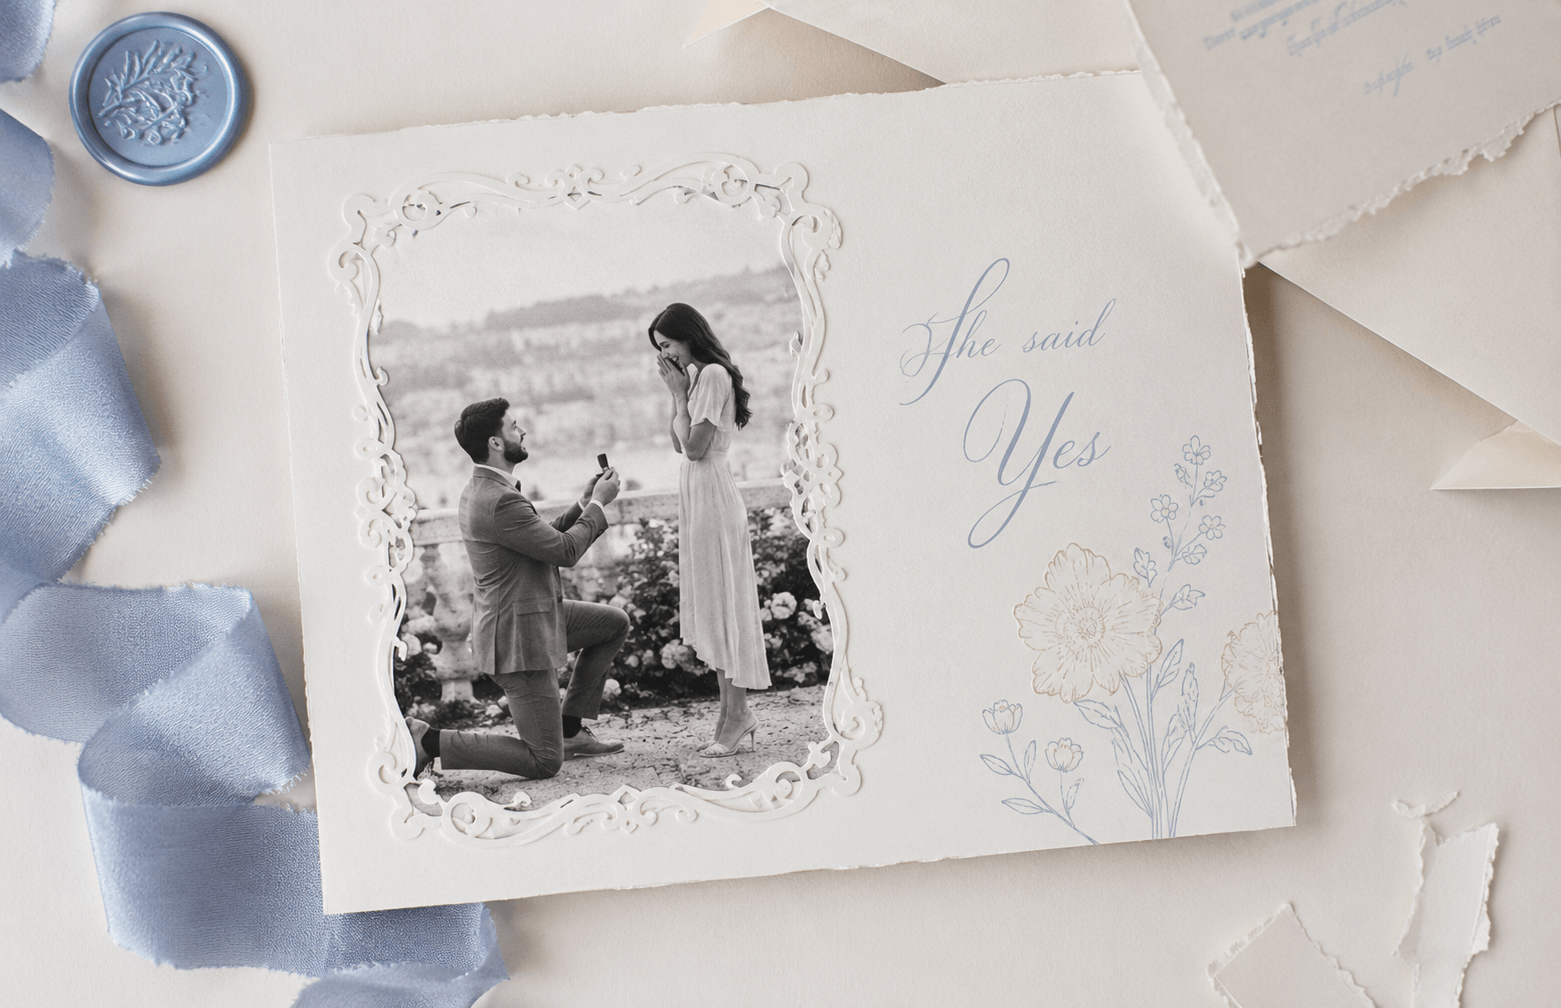
Die-cut frames are one of the simplest ways to make a photo the focus of a handmade card. Whether you prefer ornate gold details, clean modern lines or playful shapes, framing instantly gives your design a more polished and intentional feel. It also has the added benefit of concealing any cut edges around the photo for a cleaner finish.
For extra dimension, layer multiple die cuts of heavyweight cardstock together, then mount the frame using foam pads or adhesive discs to lift it away from the card base. This subtle 3D effect adds depth, creates soft shadows and helps the photograph stand out from the surrounding design elements.
For a romantic wedding or engagement card, try pairing a black-and-white photo with an ornate Pearlescent card frame. Finish the design with delicate fine-line floral illustrations and flowing cursive lettering for effortlessly chic, thoughtful cards. For an antique feel, try using an edge scuffer to add texture and interest.
Try a ‘lift-the-flap' playful photo card
Flaps are a fun and interactive way to incorporate photographs, especially for children’s photo birthday cards. One playful idea is to place the child’s face behind a themed cut-out shape, such as an astronaut helmet, pirate window or superhero mask.
This effect is built in two layers, a background which the photograph will be attached to, and the foreground which will include the flap element. Start by drawing your astronaut wearing a full helmet. By carefully cutting along three of the helmet visor sides, you can fold it open creating a window to you photograph underneath. Secure the layers together making sure the photo lines up to the window. This layering process helps the card feel more dynamic while also disguising the edges of the photograph neatly within the design. You can add extra texture with mirror card stars.
The interactive moment a lift-the-flap brings is so much fun for the recipient especially younger children creating a playful experience to last.
Include a photo envelope liner
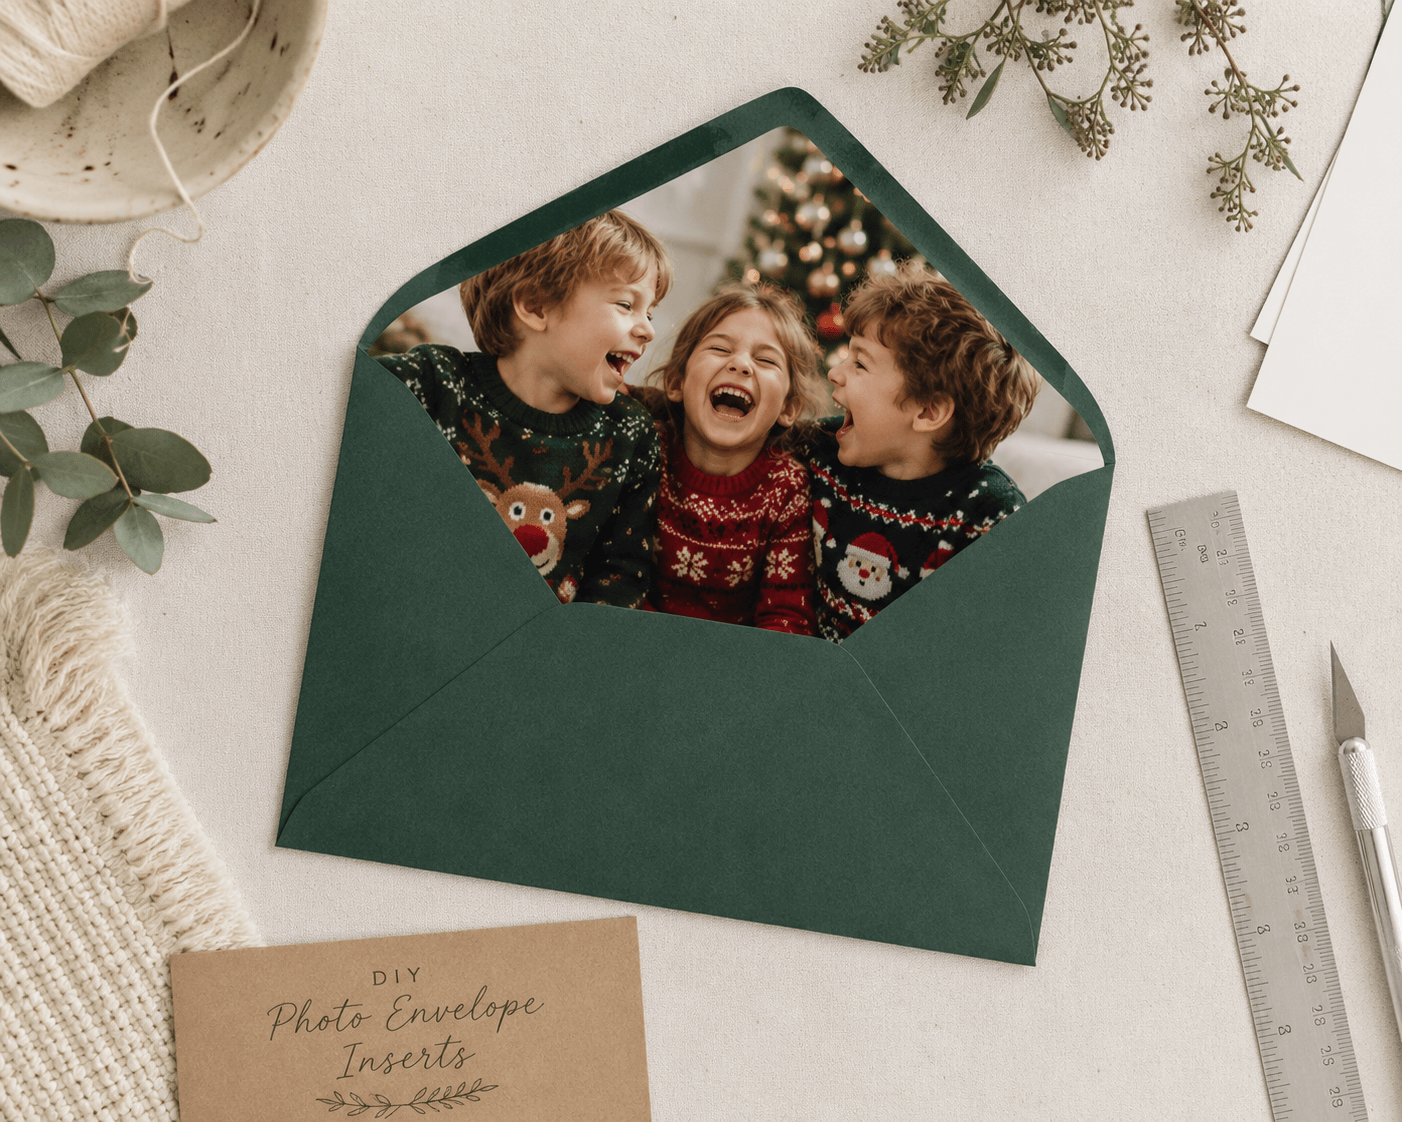
If you’re looking to incorporate photographs in subtler way, photo envelope liners are a brilliant finishing touch. They turn even a simple letter into a personal treasure.
To create a photo envelope liner, print your chosen picture onto lightweight paper so it folds neatly inside the envelope without adding bulk. Trim the print to fit the shape of your envelope, using the envelope itself as a template if needed. Once adhered in place, the liner becomes a decorative surprise that complements the card inside.
This technique works especially well with scenic photography and family portraits. If you send out a Round Robin at Christmas adding a photo of the family in coordinated holiday jumpers is a lovely festive touch.
See our full step by step guide to create envelope liners here
Craft a scrapbook-style photo cards
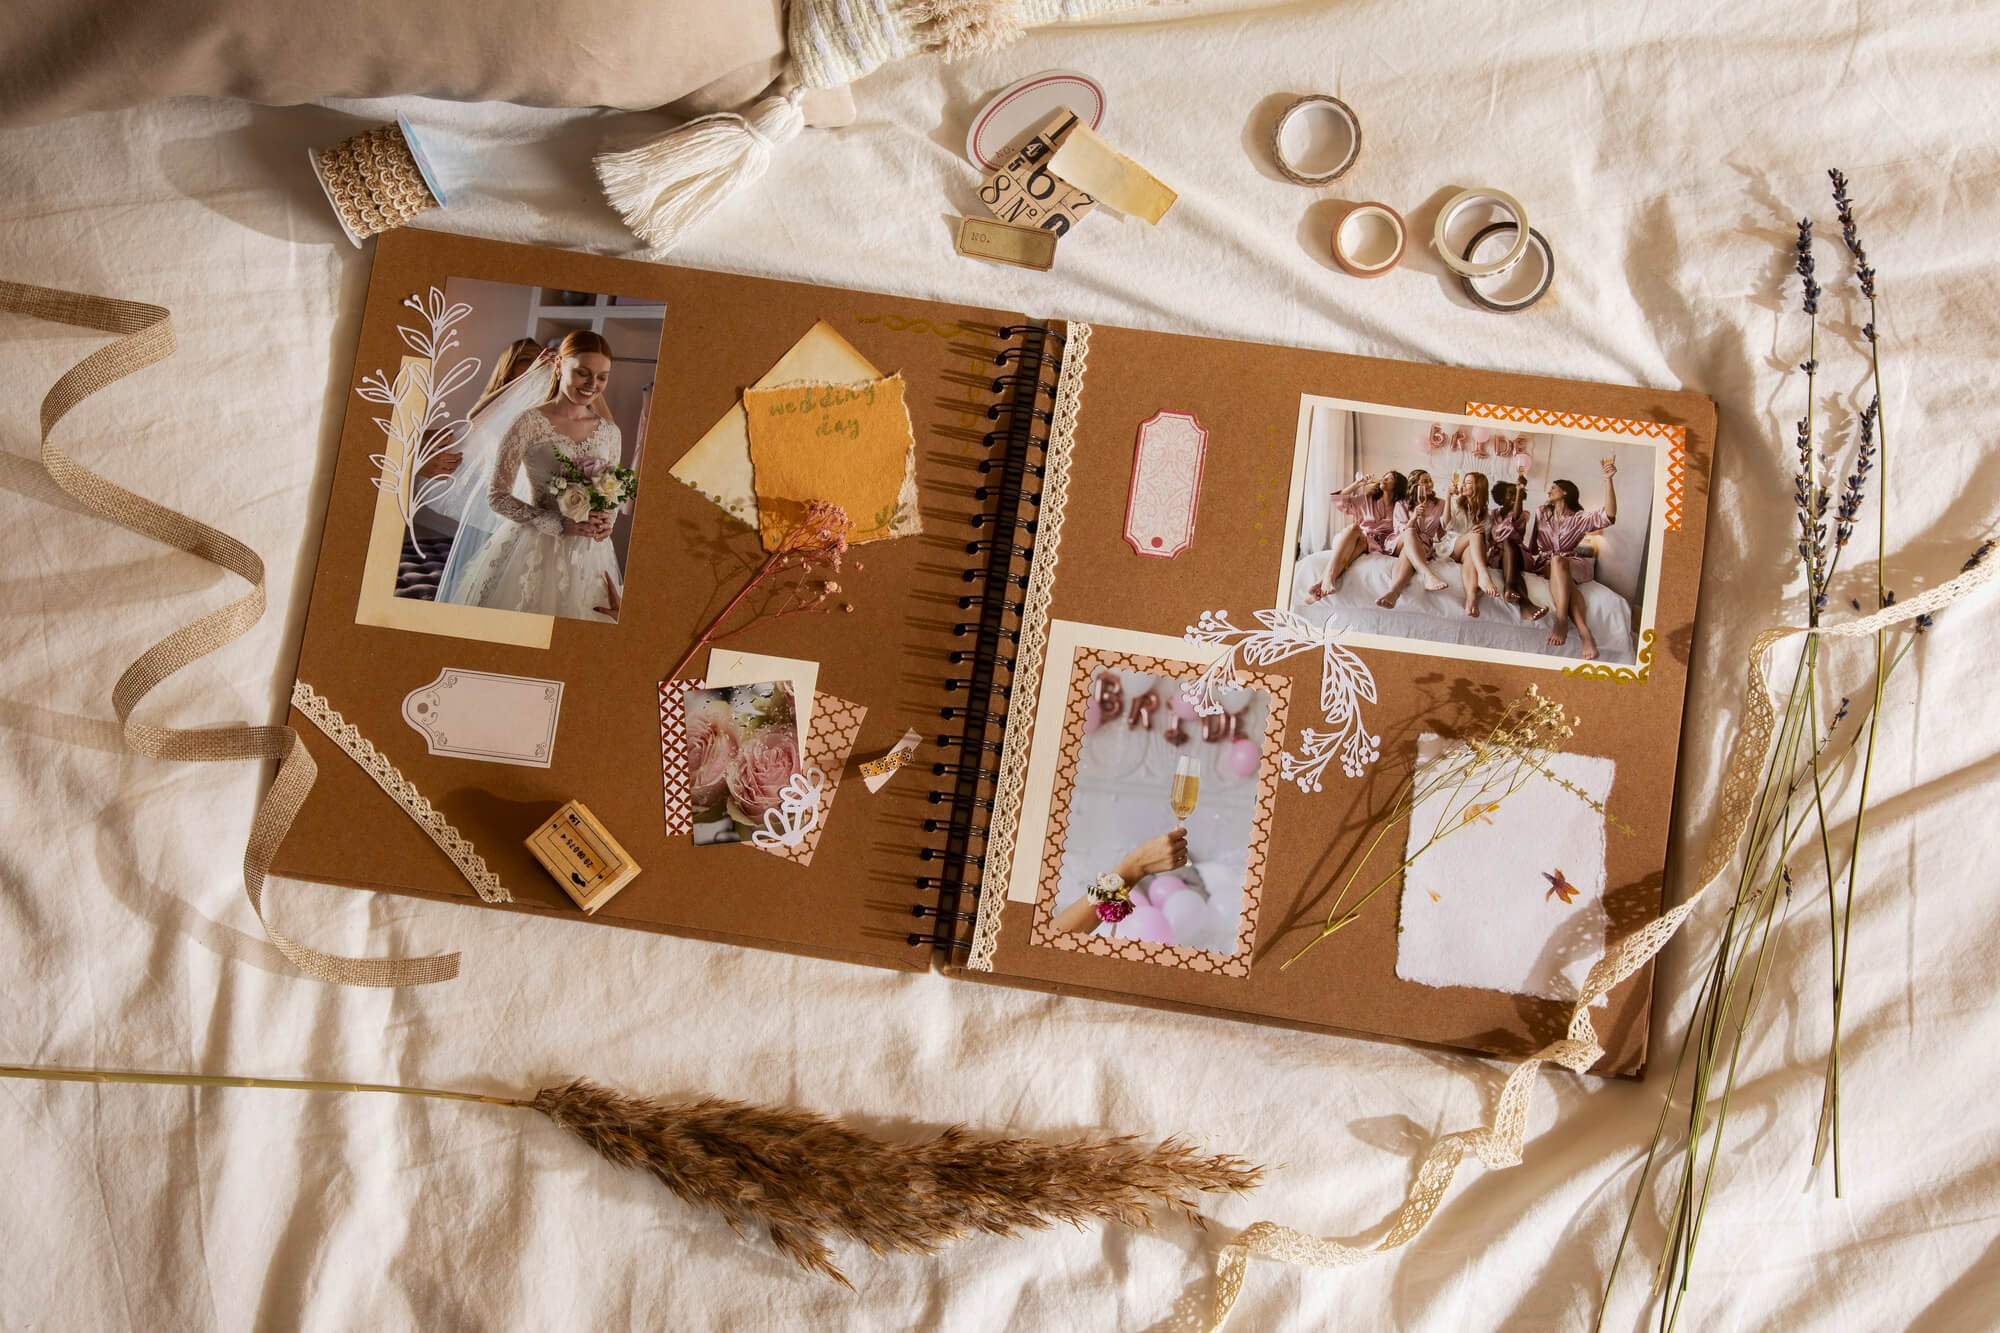
Scrapbook-inspired cardmaking is a wonderful way of sharing memories in thoughtful design. They’re perfect for anniversaries, milestone birthdays and allowing you to tell a story through various photographs and keepsakes. Rather than using a single focal image, this style embraces clusters of snapshots, textures and meaningful ephemera to create a deeply personal finished card.
Mix candid photographs with handwritten notes, pressed flowers, vellum and memorabilia such as gig tickets, travel stubs or favourite snack wrappers. Let raw or visible tape become part of the aesthetic, giving the card a relaxed, authentic scrapbook feel. Layering elements loosely and asymmetrically helps create that collected-over-time appearance bringing a nostalgic mood for a sentimental feel.
These thoughtful cards often feel more like miniature memory books than traditional greetings cards making them especially meaningful for anniversaries, long friendships or celebrations filled with shared experiences.
Have fun with it
As card suppliers, it’s so rewarding seeing simple paper products transformed into something completely personal and unforgettable like photo birthday cards. A handmade card becomes so much more than paper and glue, it captures memories, celebrates milestones and creates keepsakes to be treasured.
Most of all, remember to have fun with it – beauty doesn’t lie in perfection but from the work and thought put into it. Experiment with textures, layers and photographs to make your designs unique. The joy of cardmaking comes from the creative process itself, so have fun with it and let your personality shine through every detail.
Explore the full range of craft supplies Paperbox has on offer and get creating.