How to Use Sealing Wax Sticks with a Glue Gun or Spoon
Posted by Sophie on 23rd Apr 2021

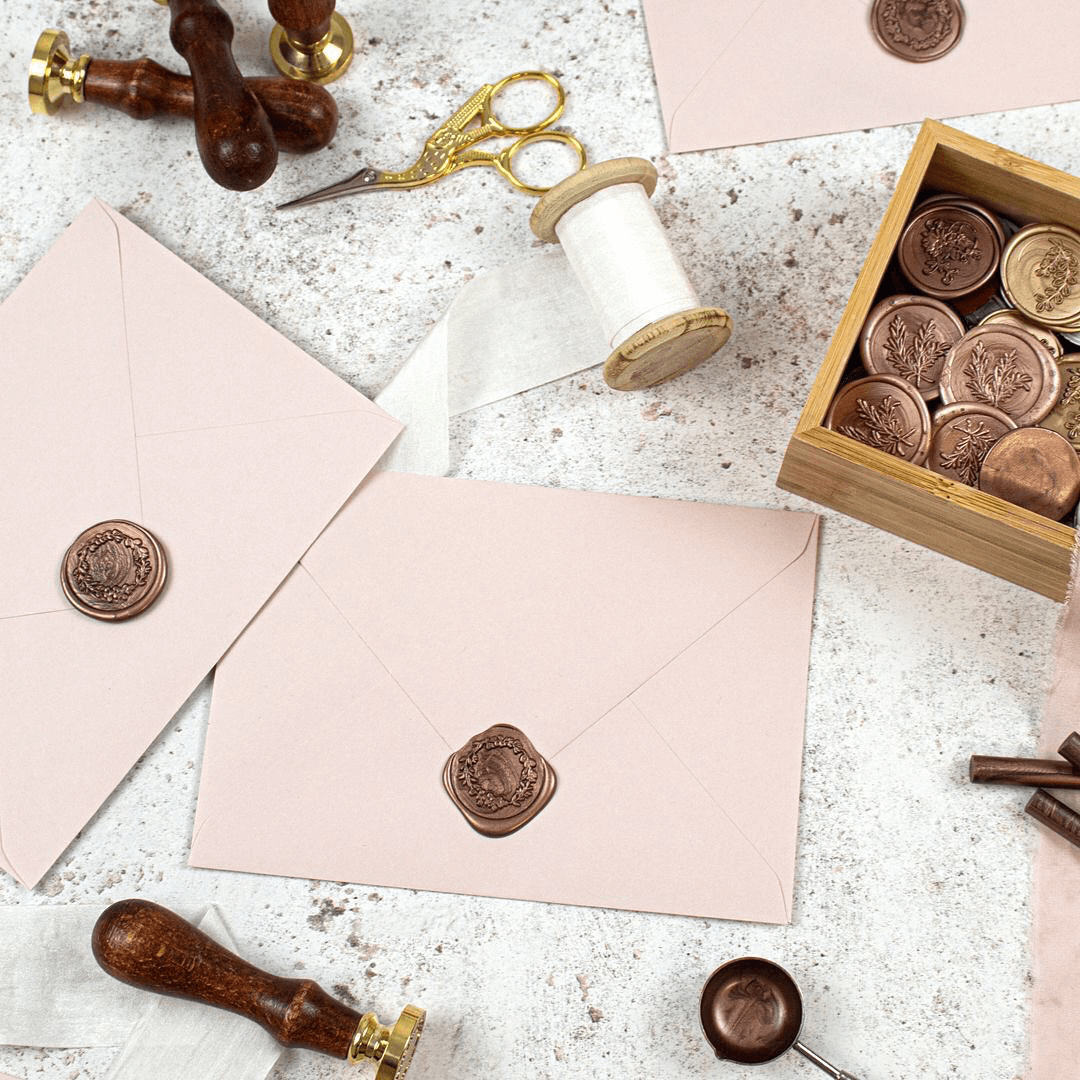
Traditional wax seals add a beautiful and individual touch to wedding invitations, making each piece of stationery unique. At The Paperbox, we offer a wide range of sealing wax sticks in different shades and colours — perfect as an accent on a bellyband or sealing your envelopes.
If you’ve never used sealing wax before, we’ve put together this quick guide on how to use them for your stationery. You can choose from two application methods: a glue gun and a traditional melting spoon.
Using a Glue Gun
Our 7mm sealing wax sticks are compatible with temperature controlled mini hot melt glue guns on low heat and work just like regular glue sticks. To get started, follow these steps:
- Insert the 7mm wax sticks into the mini glue gun.
- Set the temperature to low and allow a couple of minutes for the glue gun to heat up. Rest the glue gun on a mat or sheet of foil to protect surfaces from dripping wax.
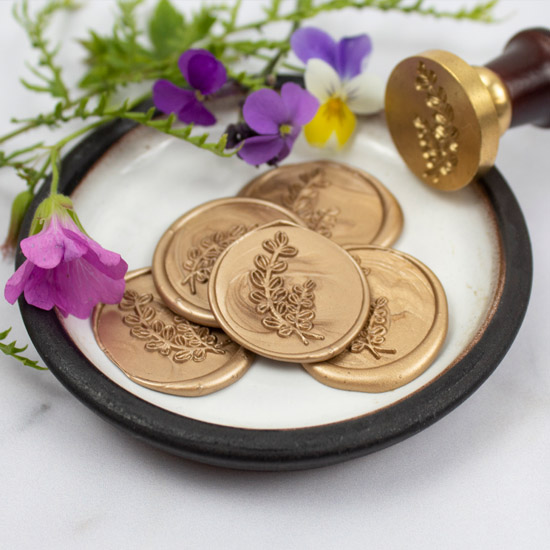
- Two pulls of the glue gun trigger should produce a good amount of wax for our 25mm seal stamps.
- If this is your first time using glue gun wax, consider doing a test run on a piece of scrap paper or card first to find your own rhythm and get a feel for the consistency of the wax and how it stamps. This also lets you check the colour fastness of the wax.
- Emboss the wax with the stamp and allow the stamp to rest for a few seconds before gently pulling off.
- Allow the stamp to cool between each seal. After a few seals, the melted wax will heat up the brass plate, causing it to become too hot and stick to the wax.
- We recommend cooling down the stamp with cold water, ice, or an ice pack. Be careful when using ice packs as the hot stamp can melt the plastic.
- Dry the stamp on a towel.
- Repeat the process.
Pros and Cons of Using a Glue Gun
- This method is ideal for DIY projects that require a large number of seals.
- Glue guns are fuss-free and don’t require the use of an open flame, making them safer. You have more control over how much wax to use — simply “point and shoot.”
- Changing colours, however, can be tricky. It can take a few pulls of the trigger for leftover wax to clear out. Here’s what you can do to speed up the process.
- Use a glue stick in between colours to flush out the previous colour. This way, only a couple of pumps of the following colour will be wasted to transition from the glue to the wax. An entire stick of sealing wax stick is often wasted when transitioning straight from one colour to the next.
- Alternatively, you can use this transition to create some fun mixed colours if you plan which shades to use in advance!
Using a Melting Spoon
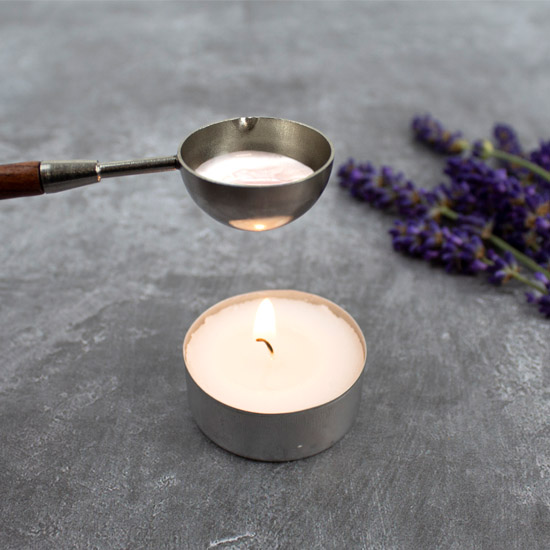
A more traditional method of applying wax on paper uses our
wax melting spoon, designed for melting wax, to create one to two seals. It also has a lip for ease of pouring. As you’re likely to leave a little more wax than needed with a spoon, you can create a more organic edge on your seal after stamping.
- Cut off a small portion of the wax stick and place it in the melting spoon. Hold it over a burner or candle, but not too close to the flame, as this can leave a sooty deposit on the underside of the spoon.
- Once the wax has melted, it’s time to pour. If the wax is bubbly or very runny, hold it away from the flame and allow it to cool for a few moments. You want your wax to have a thick syrup consistency before pouring on paper.
- As with the glue gun method, be sure to let your stamp cool between each seal.
- Dry the stamp on a towel.
- Repeat the process.
Pros and Cons of Using a Melting Spoon
- Melting spoons are handy if you only need to create a few wax seals. However, this method is simply too slow for larger projects.
- They’re just cool to use. There’s something about making seals for your invitations the traditional way that makes the experience more memorable.
- Combining colours to create a marbled effect with your seals is also easier with a spoon. You get to see how the colours come together before pouring the wax.
- Working with an open flame means being more mindful about safety.
Whichever method you use, making wax seals for your wedding stationery is a fun experience and makes your cards and invitations stand out. For all your personalised wedding stationery needs, The Paperbox has you covered. Explore our collection of greeting card supplies, paper, card blanks, envelopes and accessories, and get free UK shipping on all orders over £3.50.